
Shot sizes
Films are made up of scenes. Each scene includes a sequence of several shots that show the characters and setting as the action unfolds. These can include close-ups to show the emotion of the characters, or long shots to show where the characters are.
Here we give visual examples of shot sizes, and describe how they’re used to achieve different responses from the audience.
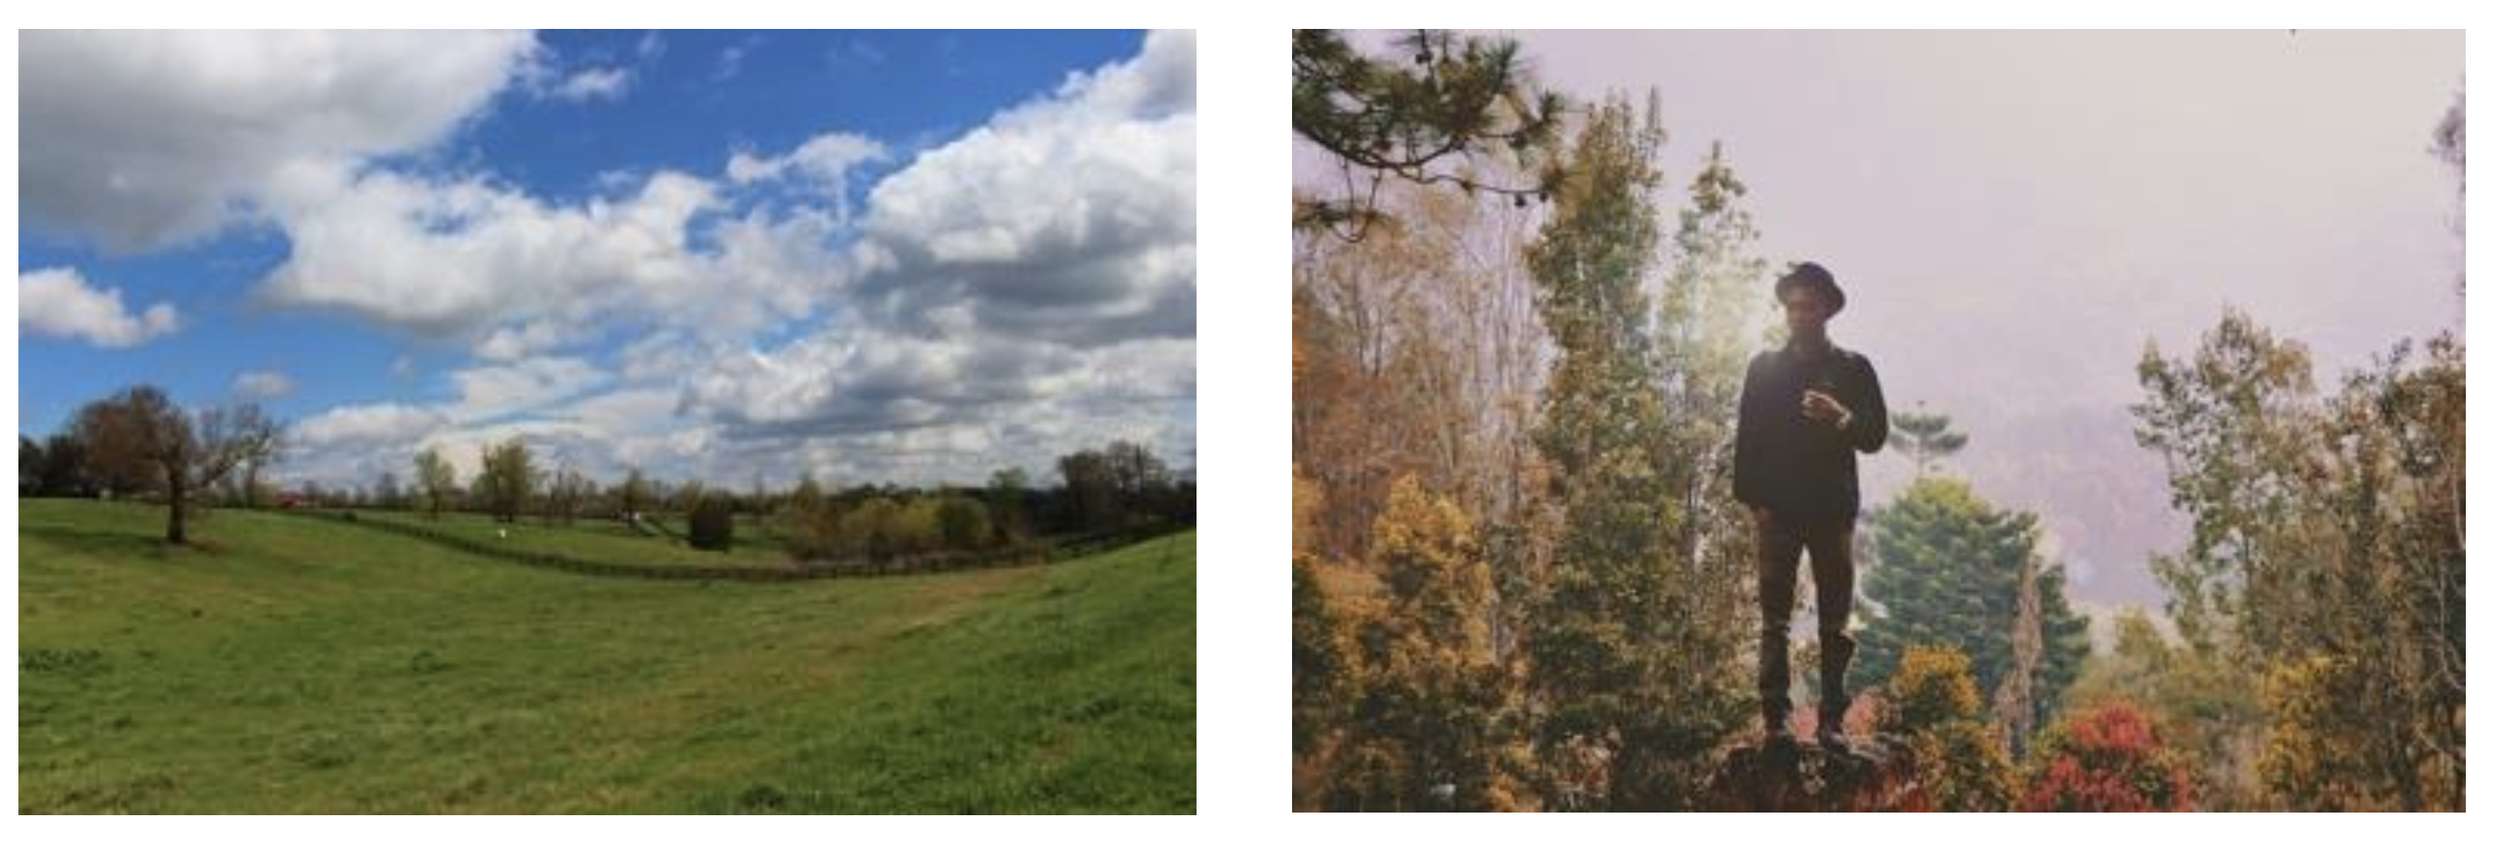
Consider how important it is to show where your characters are. You can use an Extreme Long Shot (ELS) or a Long Shot (LS) to show characters in relation to the location. An Extreme Long Shot often shows a character as much smaller than their surrounding environment, while a Long Shot shows someone from head to foot where you can see the person in the setting.
A Mid Shot (MS) shows only the top half of the body. You can see the face and what the person is doing.

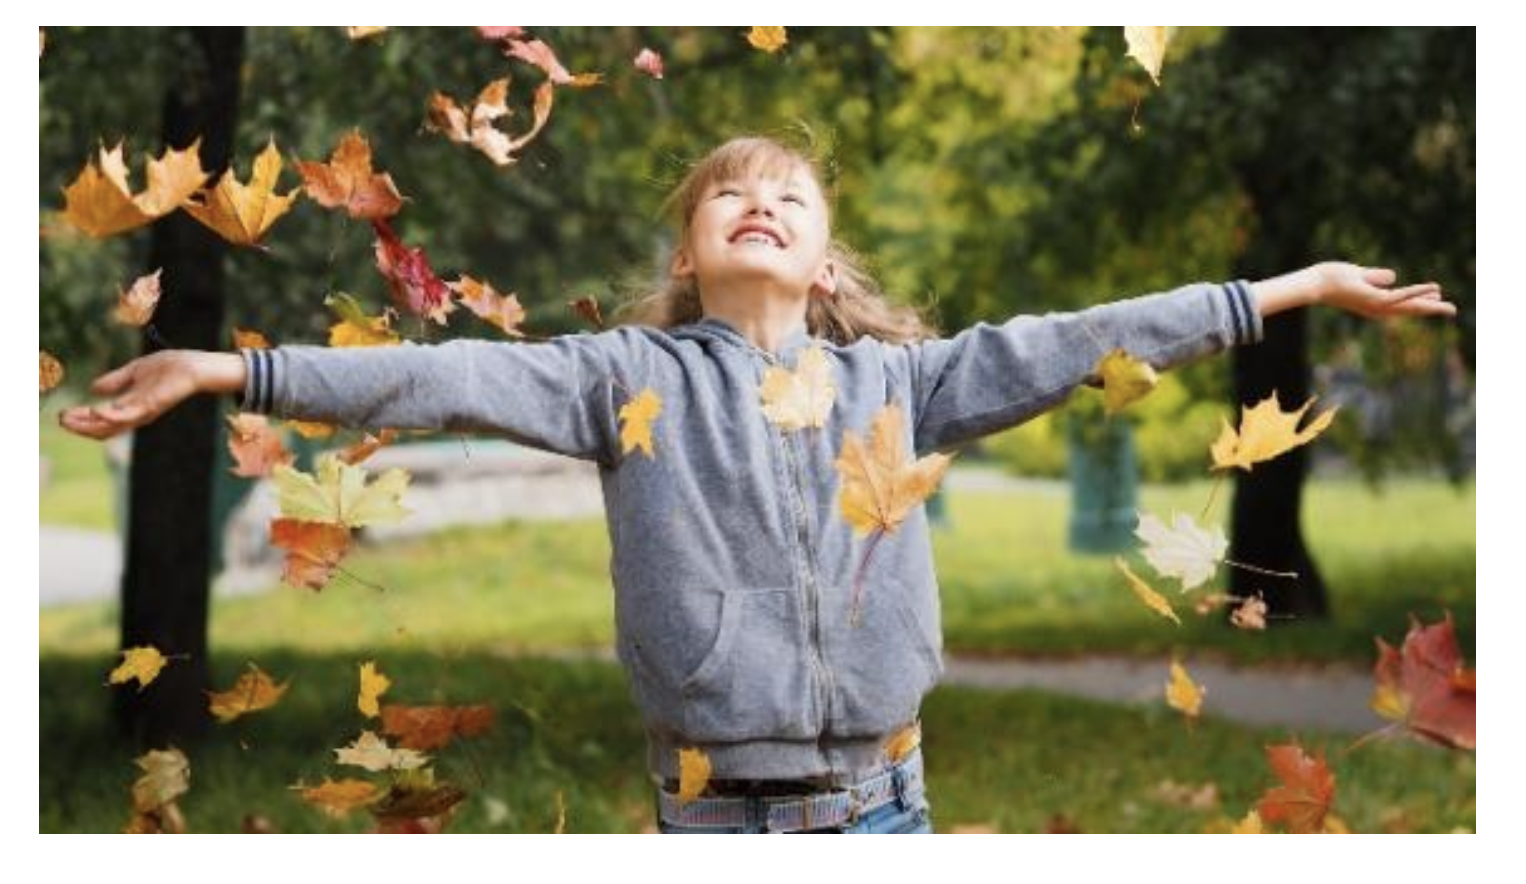
If you want to show a character’s expression or emotion, or focus on a significant prop, use a Close Up (CU) or an Extreme Close Up (ECU). A Close Up shows their face, or maybe their head and shoulders. It lets you imagine what they’re feeling. An Extreme Closeup shows just a small part of a person or thing, and is normally used to show shock or extreme emotion, or an important detail.
Show your students this video which explains the different types of shot sizes, and what they’re used for:
Shot Sizes https://www.youtube.com/watch?v=VE5qsNQaSZI
Exercise: Practice shooting these different sized shots with the camera team.